Copper Annealing vs Work-Hardening: Metallurgical Differences That Matter
Struggling with copper that's too brittle for complex forming or too soft for structural use? The constant battle between ductility and strength can halt production. This isn't just a technical misstep; it's a financial drain and a blow to your product's reliability and reputation.
Copper annealing is a heat treatment that softens the metal, increases its ductility, and relieves internal stresses by recrystallizing its grain structure. In contrast, work-hardening (or strain hardening) is a mechanical process that strengthens copper by deforming it, which increases its hardness and strength.
Getting this choice right is more than textbook knowledge; it's about achieving tangible results in your facility. We've seen countless clients navigate this decision, and the outcomes always hinge on a deep understanding of the underlying science. Let's move beyond simple definitions and explore how these processes fundamentally reshape copper at a microscopic level, impacting everything from its formability to its final service life.
It's easy to see annealing and work-hardening as opposites—one softens, the other hardens. However, this view overlooks their nuanced interplay. In advanced manufacturing, they are often sequential partners. For example, a client producing intricate copper connectors work-hardens the material through stamping to achieve required strength, but then selectively anneals specific sections for critical bending without fracture. A study from the Journal of Materials Processing Technology1 highlights that controlled partial annealing can achieve a unique combination of strength and ductility unattainable by either process alone. This isn't about choosing one or the other; it's about strategically leveraging both to create a superior product.
What Are the Key Differences Between Copper Annealing and Work-Hardening?
Are you confused by whether to heat your copper or mechanically process it? This confusion can result in choosing a suboptimal process, creating parts that either crack during formation or fail under load, directly impacting your bottom line and production schedules.
The primary difference lies in the method and outcome. Annealing is a thermal process using heat to increase ductility and reduce hardness by recrystallizing the grain structure. Work-hardening is a mechanical process that increases hardness and strength through plastic deformation, introducing dislocations into the crystal lattice.
These definitions provide a solid starting point, but the real implications are found in the details. The "how" and "why" behind these transformations are what separate acceptable results from exceptional ones. For example, the rate of heating and cooling in annealing, or the degree of deformation in work-hardening, are critical variables. I recall a client manufacturing high-frequency cables who needed extreme ductility for wire drawing. Simply annealing wasn't enough; they needed a precise thermal profile to achieve the perfect grain structure. We guided them to understand that the difference isn't just what you do, but how you control it. The contrast is stark, not just in the machinery used—a furnace versus a rolling mill—but in the very soul of the metal. Understanding this is crucial for anyone in the metal processing industry looking to optimize their workflow and achieve superior product quality.
The Process Mechanism: Thermal vs. Mechanical Energy
Annealing is fundamentally a thermodynamic process. It involves applying thermal energy to the copper, heating it to a specific temperature where its atoms gain enough energy to move and rearrange themselves. This process is all about resetting the material's internal structure from a state of high stress and disorder to one of low stress and order. The energy input is heat, carefully controlled within an industrial furnace to achieve a specific outcome.
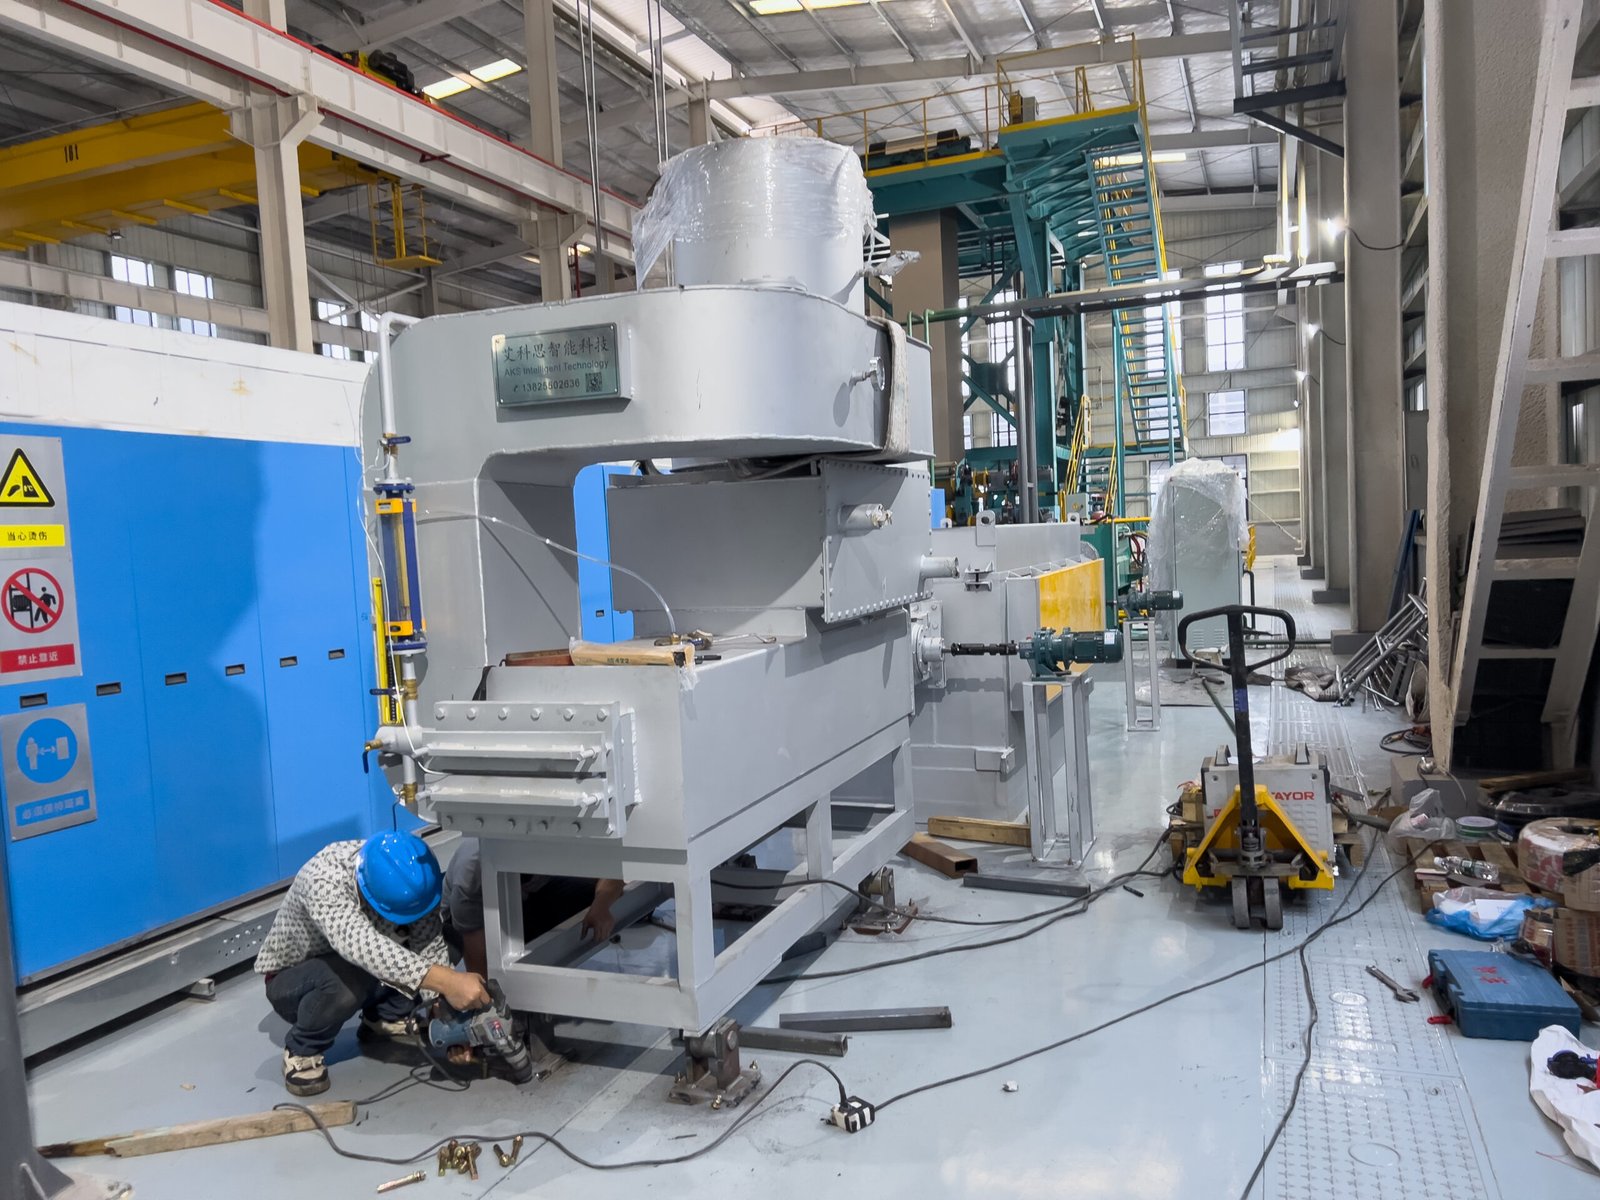
I remember working with a manufacturer of intricate copper heat sinks for the electronics sector. They were experiencing cracking during the final stamping stage of their production. The issue wasn't the raw material but the residual stress built up from prior forming operations. Our solution was a precisely controlled bright annealing furnace. By holding the parts at the correct temperature in a protective atmosphere, we allowed the crystal grains to recrystallize, completely eliminating the internal stress and restoring full ductility without any surface oxidation. This thermal "reset" was the key to solving their manufacturing bottleneck.
In stark contrast, work-hardening is an entirely mechanical phenomenon. It introduces energy into the material through physical force—rolling, drawing, stamping, or forging. This force causes plastic deformation, which doesn't reset the crystal structure but rather distorts it, creating a dense and tangled network of crystal defects known as dislocations. These dislocations get in each other's way and impede their movement, which is what makes the material harder and stronger, but also less ductile.
Impact on Crystal Structure: Recrystallization vs. Dislocation Density
At the microscopic level, the difference between these two processes is profound. Annealing triggers a process called recrystallization. During the heating cycle, the highly stressed, elongated grains that were formed during cold working are systematically replaced by entirely new, equiaxed, and stress-free grains. The size of these new grains can be carefully controlled by the annealing temperature and time, which in turn directly influences the final mechanical properties. A fine grain structure, for instance, offers an excellent balance of strength and ductility.
Work-hardening, on the other hand, does the exact opposite. Instead of creating new, perfect grains, it packs the existing ones with an incredible number of dislocations. Think of a perfectly ordered library as a soft, annealed copper crystal. Work-hardening is like shoving more and more books (dislocations) onto the shelves in a disorderly fashion until they are so tightly packed that it becomes extremely difficult to pull any single book out. This increased dislocation density is precisely what makes the copper more resistant to further deformation, hence stronger and harder.
The following table summarizes the contrasting effects of these processes on key metallurgical properties, providing a clear reference for process engineers and metallurgists.
| Недвижимость | Annealing Effect | Work-Hardening Effect |
|---|---|---|
| Grain Structure | New, equiaxed, stress-free grains form | Existing grains become elongated, stressed |
| Dislocation Density | Significantly reduced to a low level | Drastically increased |
| Internal Stress | Relieved and minimized | Induced and increased |
| Hardness (HV) | Decreases significantly | Increases significantly |
| Ductility (%El) | Increases to maximum potential | Decreases sharply |
| Electrical Conductivity | Slightly increases due to lattice perfection | Slightly decreases due to lattice distortion |
Reversibility and Control: The Process Loop
A critical distinction that dictates manufacturing strategy is the reversibility of the processes. The effects of work-hardening can be almost completely reversed by annealing. You can harden a copper strip by rolling it to increase its temper, and then make it soft again by heating it in a furnace. This unique relationship allows for complex, multi-stage manufacturing processes where both hardness and formability are required at different points in the production chain.
This principle is the absolute backbone of producing ultra-thin copper foil for batteries and electronics. A client of ours in the EV battery sector starts with a thicker copper slab and repeatedly work-hardens it through precision rolling to reduce its thickness. However, after a certain amount of reduction, the material becomes too hard and brittle to continue. To solve this, they use an intermediate annealing step in one of our continuous bright annealing furnaces to soften the foil, allowing for further rolling. This cycle of work-hardening and annealing is repeated multiple times until the desired final thickness and temper are achieved with perfect surface quality.
Annealing, however, is a one-way street in this context. Once you have annealed a piece of copper and made it soft, you cannot make it harder again simply by heating it differently or cooling it at a specific rate (as you would with some steel alloys). The only way to increase its hardness from that fully softened state is through subsequent mechanical work. This fundamental difference dictates the entire process flow for manufacturing copper products, making the strategic placement of annealing and work-hardening steps a cornerstone of efficient and effective production.
Отжиг повышает пластичностьПравда
Annealing softens copper by recrystallizing its grain structure, which relieves internal stresses and makes the metal more ductile.
Work-hardening reduces strengthЛожь
Work-hardening actually increases strength and hardness by introducing dislocations into the copper's crystal structure through mechanical deformation.
How Does Copper Annealing Affect the Material's Microstructure?
Are you producing copper parts with inconsistent properties, despite following standard annealing guidelines? The hidden culprit often lies within the microstructure2, which can be improperly developed if the thermal cycle isn't precisely controlled, leading to unpredictable material behavior and high rejection rates.
Copper annealing fundamentally refines the material's microstructure through three stages. It starts with recovery, which relieves internal stress. This is followed by recrystallization, where new, strain-free grains form, restoring ductility. ly, controlled grain growth determines the final texture and properties.
Thinking of annealing as a simple "on/off" switch for softness is a common oversimplification. It's a sophisticated thermal journey with distinct stages, each profoundly impacting the copper's internal architecture. I recall a client manufacturing high-end copper cookware. They wanted a brilliant, mirror-like finish but were plagued by a blotchy "orange peel" effect. The problem wasn't their polishing technique but uncontrolled grain growth during their annealing cycle. By helping them fine-tune their furnace's temperature and time to promote full recrystallization without excessive grain growth, we solved the surface finish issue at its source—the microstructure. This level of control separates commodity production from high-value manufacturing, and it all starts with understanding what’s happening inside the metal.
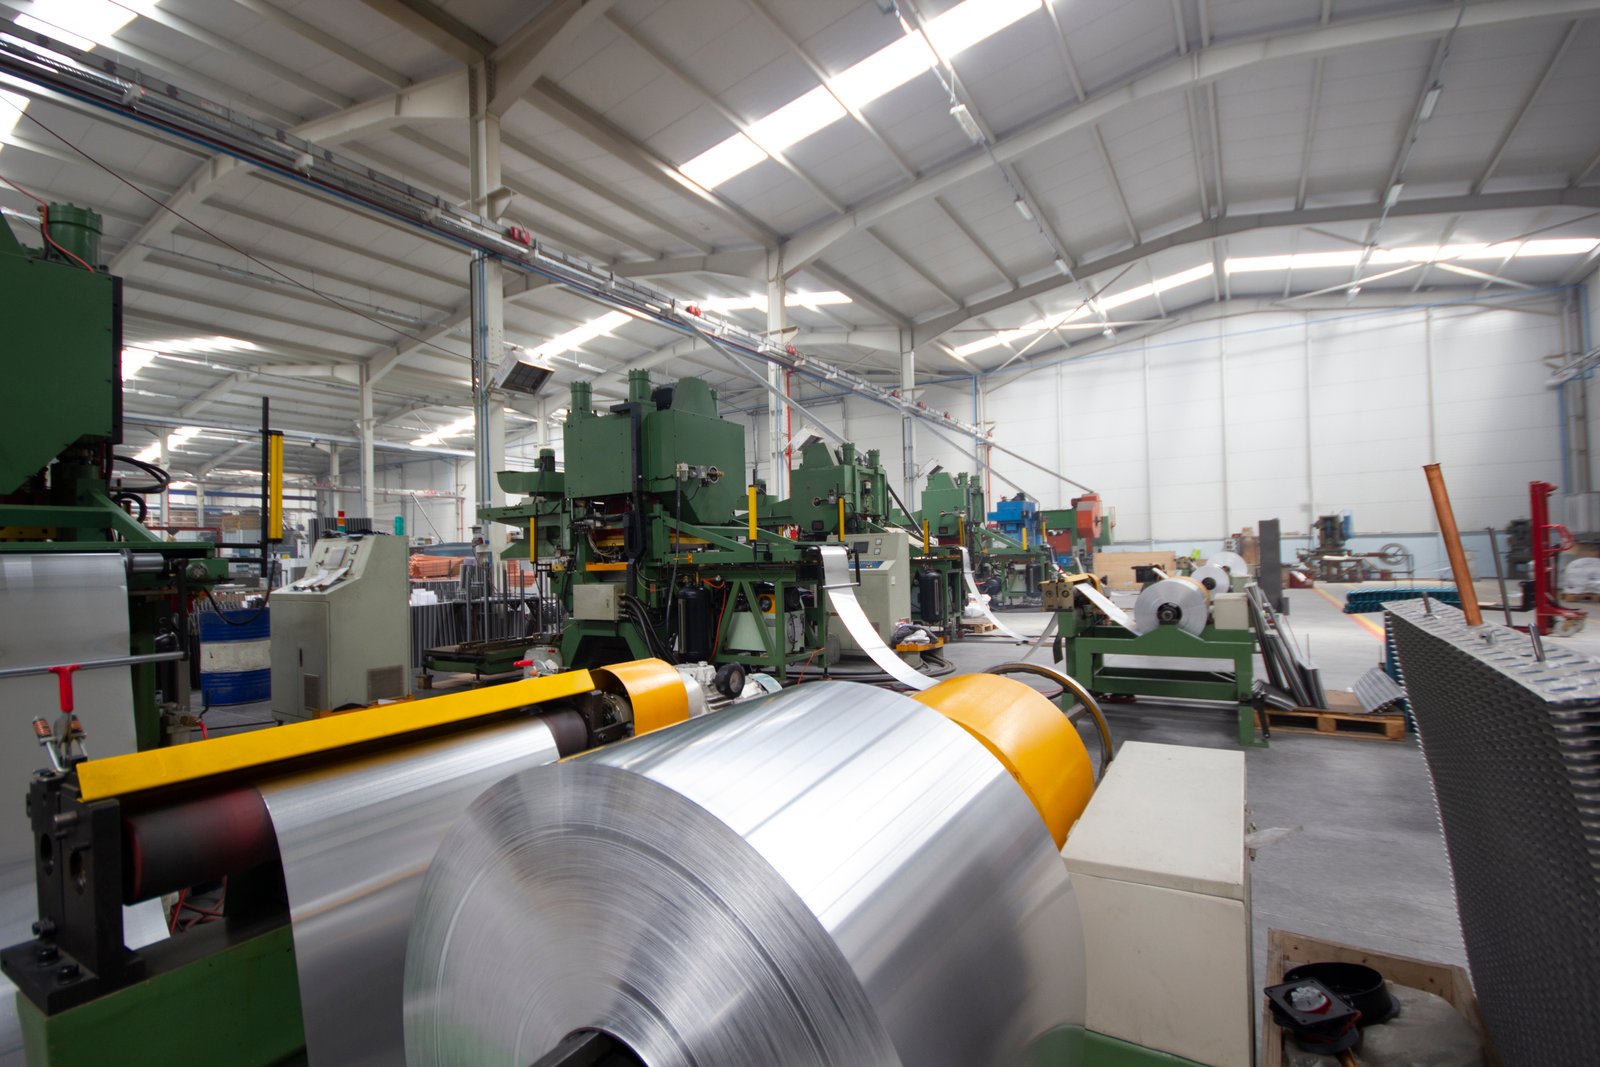
Stage 1: Recovery - Relieving the Internal Strain
The very first thing that happens as you begin to heat a work-hardened piece of copper is recovery. This stage occurs at relatively low temperatures, well below the point where you would see a visible change in the metal's glow. During recovery, the atoms don't have enough energy to form entirely new crystals, but they can move slightly. This subtle atomic movement allows the tangled dislocations that were created during work-hardening to rearrange themselves into more stable, lower-energy configurations, a process known as polygonization.
The primary benefit of the recovery phase is significant stress relief. While it doesn't cause a major drop in hardness or strength, it's absolutely crucial for preventing long-term problems like stress-corrosion cracking and for improving the dimensional stability of finished parts. I worked with a client producing precision electronic terminals; these parts were work-hardened to achieve the necessary springiness but needed to hold extremely tight tolerances over their service life. A low-temperature stress relief cycle, perfectly executed in one of our mesh belt furnaces, was the ideal solution. It stabilized the parts without sacrificing the critical hardness gained from the work-hardening process.
Furthermore, during the recovery stage, there is a noticeable restoration of physical properties like electrical conductivity. The lattice distortion caused by cold work scatters electrons, slightly increasing resistance. By allowing the lattice to relax during recovery, much of this lost conductivity can be regained. According to data from the Copper Development Association, even a low-temperature stress relief anneal can recover a significant portion of the conductivity lost during heavy cold working. This is a critical consideration for any components used in electrical or electronic applications, where every bit of efficiency counts.
Stage 2: Recrystallization - The Birth of New Grains
As the temperature continues to rise into the proper annealing range, the magic truly begins with recrystallization. This is the heart of the annealing process and the source of its transformative power. At this point, the copper's atoms have gained enough energy to break their old bonds and form entirely new, tiny, strain-free grains. These new grains nucleate (or begin) at points of high stress, typically at the boundaries of the old, deformed grains, and then grow outwards, consuming the old structure entirely.
The result of this microstructural reboot is dramatic and immediate: a massive drop in hardness and tensile strength, coupled with an equally significant increase in ductility. The material is transformed from a hard, brittle state into a soft, highly pliable one, ready for further forming. The temperature at which this happens is known as the recrystallization temperature, but it's not a fixed point. It is heavily influenced by factors like the purity of the copper and, most importantly, the amount of prior cold work. A heavily deformed piece of copper has more stored energy and will recrystallize at a much lower temperature than a lightly worked piece.
We saw this principle in action with a company producing copper wire for fine weaving applications. They were experiencing frequent wire breaks during the final drawing stages, crippling their productivity. An analysis showed their problem was incomplete recrystallization; their outdated furnace failed to maintain a uniform temperature across the entire spool, leaving hard, un-recrystallized sections in the wire. By upgrading to one of our AKS bright annealing furnaces with multi-zone PID temperature control, they achieved complete and uniform recrystallization in every batch. This simple process improvement eliminated wire breaks and increased their production throughput by over 20%.
Stage 3: Grain Growth - The Risk of Overshooting
If the copper is held at the annealing temperature for too long after recrystallization is complete, or if the temperature is too high, the third stage begins: grain growth. In a drive to reach a lower overall energy state, the newly formed grains will start to merge. The smaller grains are consumed by the larger ones, reducing the total area of grain boundaries and resulting in a coarser, larger-grained microstructure.
While this process can further soften the material very slightly, it is often detrimental to the final product's quality. Large grains can lead to a rough, uneven surface finish after subsequent forming operations, a defect commonly known as "orange peel." This is particularly problematic for applications where aesthetics or a smooth surface for plating is required. A coarse grain structure also tends to reduce the material's fatigue strength and toughness, making it less suitable for components subjected to vibration or cyclic loading.
Controlling and preventing excessive grain growth is therefore a matter of precision. It is managed by exerting tight control over both the peak temperature reached and the total time the material spends in the furnace. A study in Metallurgical and Materials Transactions showed that for high-purity copper, increasing the annealing time at 500°C from just 15 minutes to 60 minutes could nearly double the average grain size. This demonstrates the extreme sensitivity of this stage. In our advanced bell-type annealing furnaces, we utilize precise atmosphere circulation and multi-segment thermal profiles to stop the process right after recrystallization is complete, ensuring our clients achieve a fine-grained, highly formable material without the drawbacks of a coarse final structure.
Recovery precedes recrystallizationПравда
The recovery stage occurs at lower temperatures before recrystallization begins, allowing atomic rearrangement without new grain formation.
Grain growth improves fatigue strengthЛожь
Excessive grain growth actually reduces fatigue strength and toughness, making the material less suitable for dynamic applications.
In What Ways Does Work-Hardening Alter Copper's Mechanical Properties?
Are your copper components failing to meet strength and durability specifications? Relying on annealed, or "soft," copper for applications that require rigidity and wear resistance is a common mistake that leads to premature product failure and costly warranty claims.
Work-hardening, also known as strain hardening in copper, fundamentally alters copper's mechanical properties by increasing its tensile strength, hardness, and wear resistance. However, this comes at the direct expense of ductility and formability, making the material more brittle and prone to cracking during deformation.
This trade-off is the central challenge in many manufacturing processes. You need strength, but you also need to be able to shape the part. A client in the automotive sector was developing a new type of high-strength electrical connector. They needed the terminal to have a certain springiness to maintain contact pressure, a property that only work-hardened copper could provide. However, the initial design required a sharp 90-degree bend, which caused the hardened material to fracture. The solution wasn't to abandon work-hardening but to integrate it intelligently. We helped them redesign the process to form the bend while the copper was still in a softer state, and then apply the final work-hardening step. Understanding how to manipulate these properties is key to innovative and robust product design.
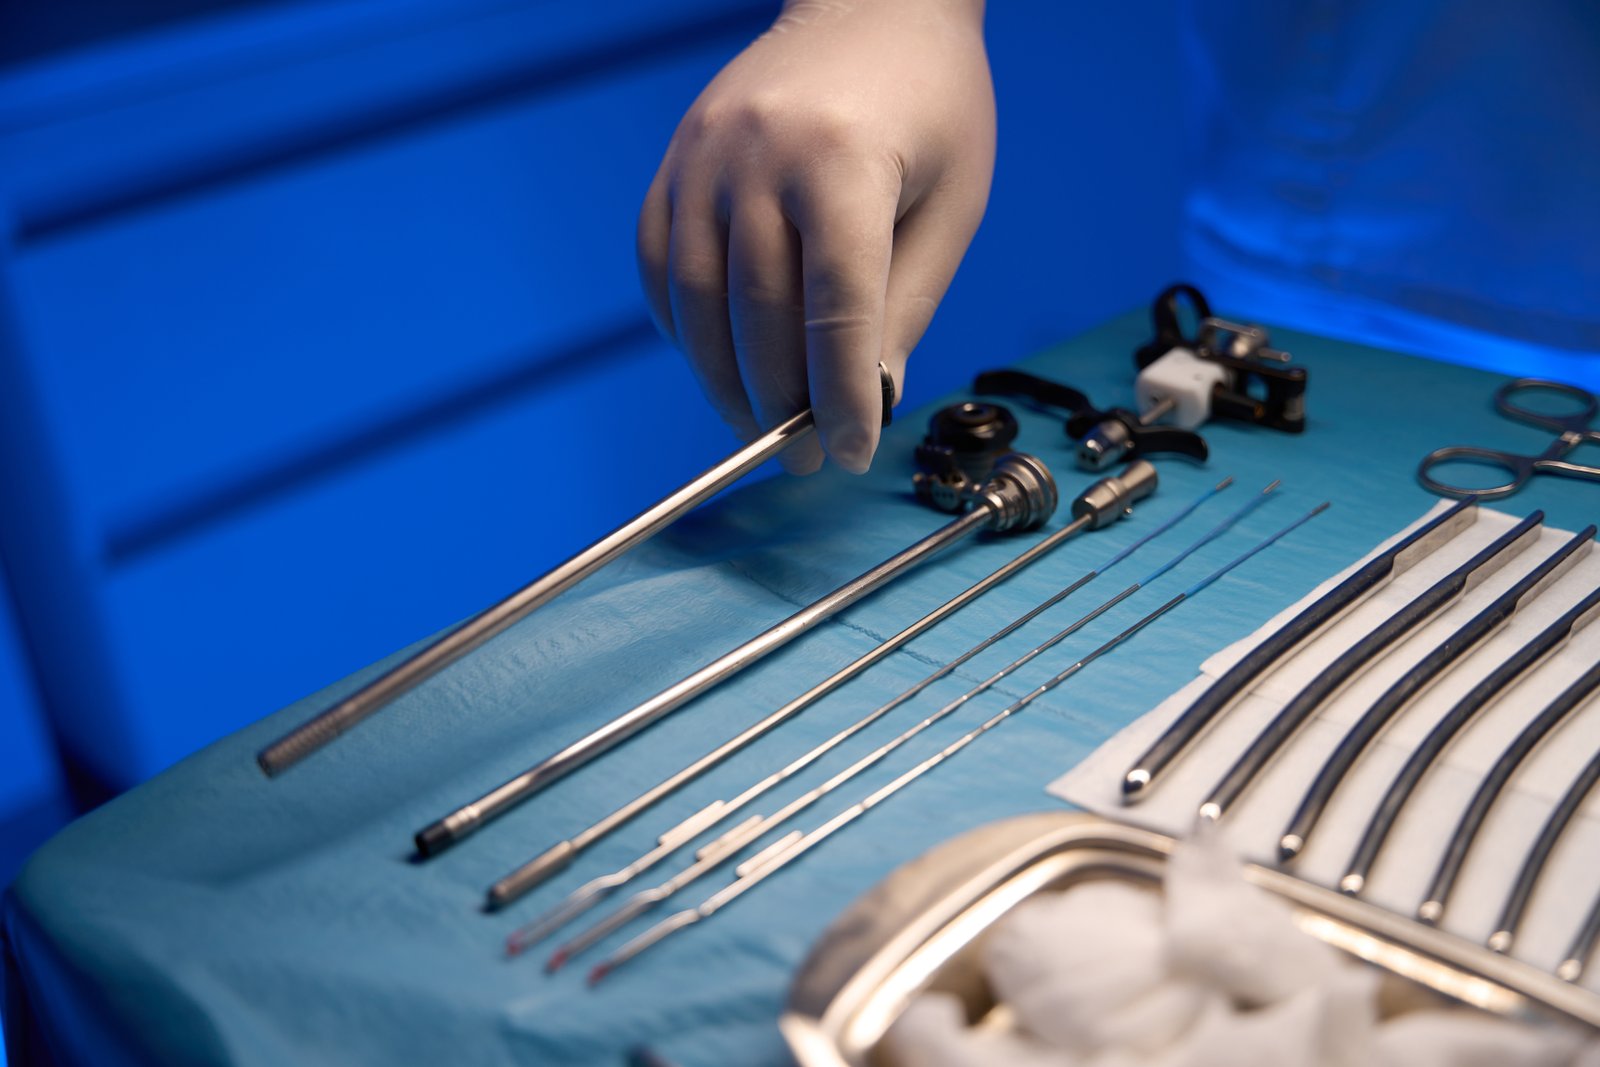
The Direct Impact on Strength and Hardness
The most immediate and obvious effect of work-hardening on copper3 is a substantial increase in the material's strength and hardness. As copper is plastically deformed by processes like rolling or drawing, the density of dislocations within its crystal structure increases exponentially. These dislocations interfere with each other, creating a microscopic traffic jam that makes it progressively harder for crystal planes to slip past one another. This resistance to slip is, by definition, an increase in the material's strength.
This principle is intentionally used to produce different tempers of copper, such as half-hard, full-hard, or spring temper. For example, a client manufacturing fasteners and rivets for industrial applications relies on work-hardened copper. Soft, annealed copper would deform too easily under load, but by using cold-headed, work-hardened material, the rivets have the high shear strength required to create a strong, permanent joint. The increase in hardness also directly translates to improved wear resistance, which is critical for components that experience friction or abrasive forces during their service life.
The degree of hardening is directly proportional to the amount of cold work applied. Industry data shows that heavily cold-rolled copper (e.g., 60% reduction in thickness) can see its tensile strength more than double compared to its fully annealed state, increasing from around 220 MPa to over 450 MPa. This ability to precisely tailor the strength through controlled deformation is a powerful tool for engineers, allowing them to specify the exact temper needed for a given application's performance requirements.
The Inevitable Sacrifice: Loss of Ductility
There is no free lunch in metallurgy. The significant gains in hardness and strength achieved through work-hardening come at a direct and unavoidable cost: a dramatic reduction in ductility. Ductility is the measure of a material's ability to deform under tensile stress, or its capacity to be stretched, bent, or drawn without fracturing. As the dislocation density in the copper increases and the grains become elongated and stressed, the material loses its ability to accommodate further plastic deformation.
This loss of ductility is the primary limiting factor in cold-working processes. A wire manufacturer, for instance, cannot draw a copper rod down to a fine wire in a single pass. After a certain amount of deformation, the wire becomes so brittle that it will snap under the tension of the drawing die. This is why intermediate annealing4 is a non-negotiable step in multi-stage wire drawing operations. The work-hardened wire is passed through a continuous annealing furnace to restore its ductility, making it soft and pliable enough to survive the next drawing stage.
This inverse relationship between strength and ductility is a fundamental concept that designers and manufacturers must constantly balance. A component that requires high strength cannot simultaneously possess high formability. Therefore, the manufacturing process must be designed to impart the final work-hardening at the latest possible stage, or only in the specific areas of the part that require high strength, leaving other areas soft for forming operations like crimping or bending.
The Effect on Other Physical Properties
Beyond the primary mechanical properties of strength and ductility, work-hardening also has secondary effects on other physical characteristics of copper. One of the most important for electrical applications is a slight decrease in electrical conductivity. The tangled network of dislocations and other crystal defects created by cold work acts as scattering sites for the flow of electrons, increasing electrical resistivity. While the decrease is typically small—on the order of a few percent—it can be significant for high-performance applications like high-frequency cables or magnet wire, where maximizing conductivity is paramount.
Another subtle but important change is the introduction of significant internal residual stresses. These stresses are locked into the material's microstructure after the external forming force is removed. While sometimes beneficial (e.g., compressive surface stress can improve fatigue life), they can also lead to long-term problems like distortion, warping, or an increased susceptibility to stress-corrosion cracking in certain chemical environments.
This is why a final stress-relief anneal5, a low-temperature heat treatment that falls into the "recovery" stage we discussed earlier, is often performed on work-hardened parts. For a client producing precision-stamped springs from work-hardened copper alloys, we implemented a final stress relief cycle. This process did not reduce the spring hardness but removed the harmful internal stresses, preventing the springs from changing their shape over time and ensuring consistent, reliable performance in the final assembly. It’s a perfect example of using heat treatment to refine the properties achieved through mechanical work.
Work-hardening increases copper's strengthПравда
Plastic deformation creates dislocation tangles that resist further slip, making copper stronger but less ductile.
Work-hardening improves conductivityЛожь
Dislocations from cold working actually scatter electrons, slightly reducing copper's electrical conductivity.
What Applications Are Best Suited for Copper Annealing vs Work-Hardening?
Choosing between a soft, formable copper and a hard, strong one can feel like a dilemma. Making the wrong choice leads directly to manufacturing failures—parts cracking during forming—or field failures, where components bend or wear out because they lack the necessary strength.
Annealed copper is best for applications requiring extreme formability, such as intricate stamping, deep drawing, and wire production. Work-hardened copper is essential for applications demanding high strength, rigidity, and wear resistance, like springs, fasteners, connectors, and structural components.
The correct choice is always dictated by the end-use and the manufacturing journey of the part. A great example comes from a customer in the plumbing fittings industry6. They produce complex copper tees and elbows. The initial tube must be fully annealed to survive the intense expansion and forming process without splitting. However, the threaded ends of the final fitting must have some degree of hardness to prevent damage during installation. Their solution is a perfect blend: they use fully annealed tube for forming and then apply a final, localized work-hardening step (thread rolling) to achieve the required strength only where it is needed. This dual-process approach is a hallmark of sophisticated manufacturing.
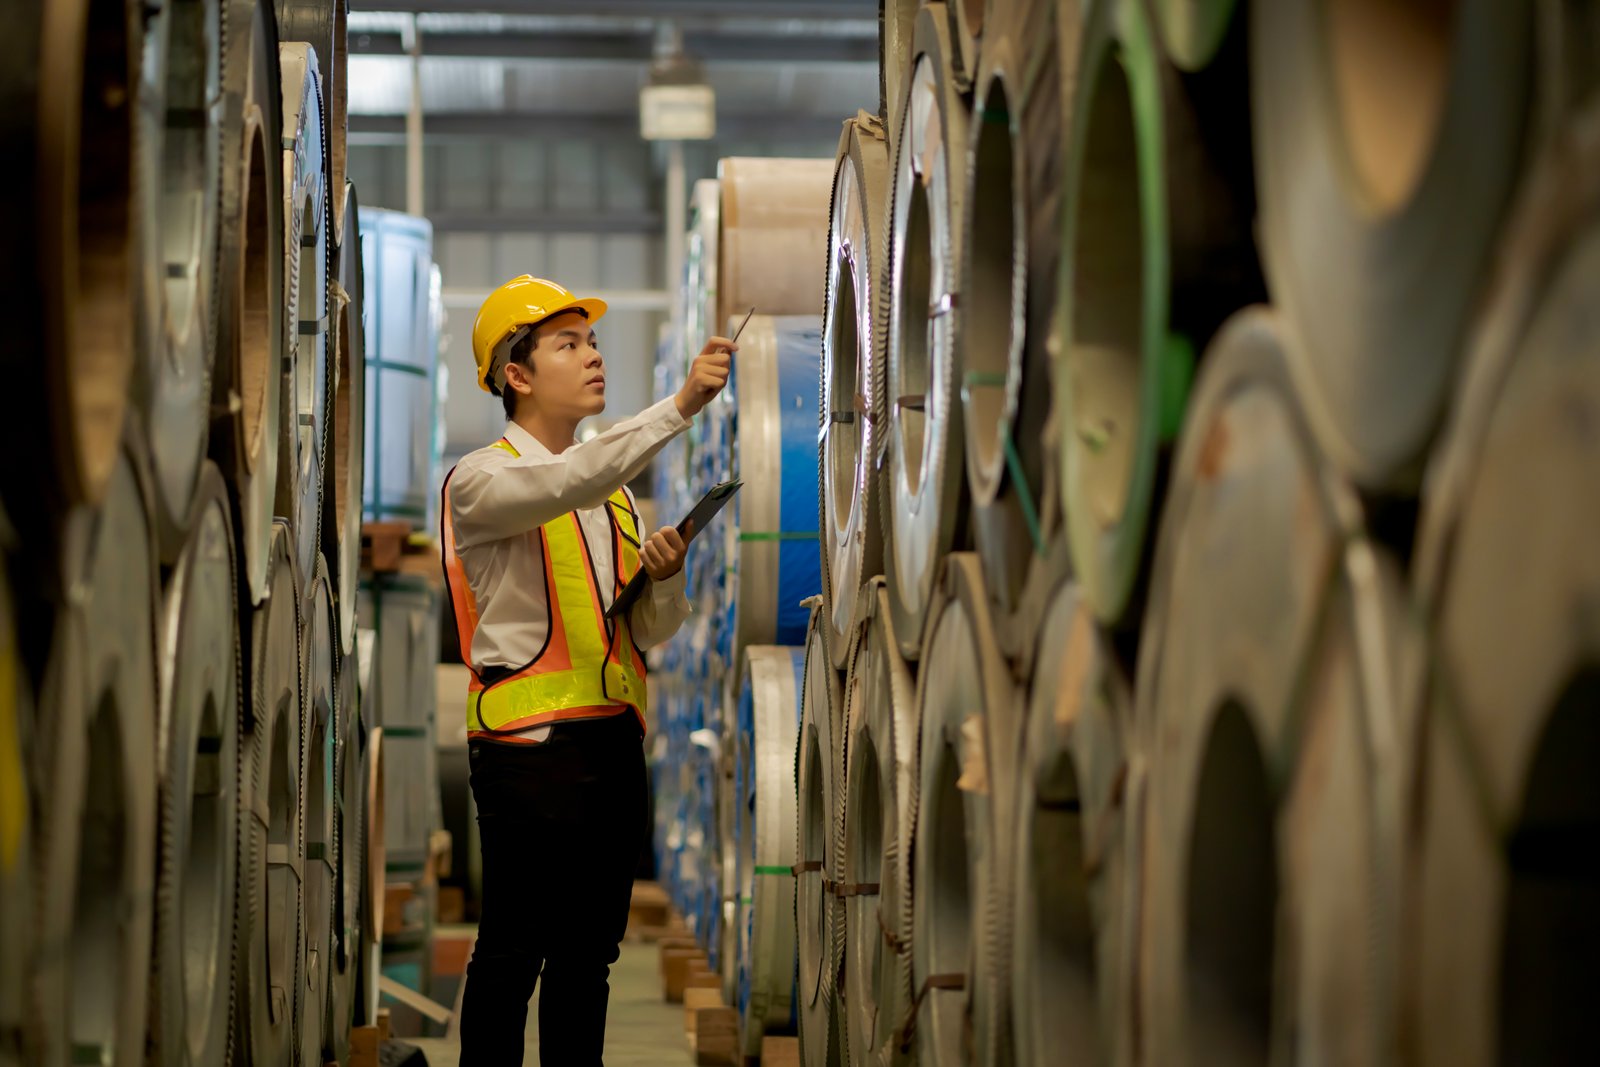
Prime Applications for Fully Annealed Copper
Fully annealed copper, in its softest and most ductile state, is the material of choice whenever extreme formability is the primary requirement. Its ability to be bent, stretched, and shaped without fracturing is unparalleled. This makes it indispensable for a wide range of manufacturing processes where the material must undergo severe plastic deformation to achieve the final part geometry.
One of the most prominent applications is in the production of high-end architectural elements and cookware7. We have a client who manufactures ornate copper roofing and cladding systems. The copper sheets must be bent, folded, and hammered into complex shapes to fit intricate designs. This would be impossible with anything other than fully annealed copper. Similarly, manufacturers of deep-drawn pots and pans rely on annealed copper discs that can be pressed into their final shape in a single, smooth operation without developing cracks or excessive thinning. In these cases, ductility is not just a desirable property; it is the single most critical enabler of the entire process.
Another critical area is the production of fine and ultra-fine magnet wire for use in electric motors, transformers, and solenoids. The process involves drawing a larger diameter rod through a series of progressively smaller dies. This requires immense ductility, which can only be maintained through repeated in-line annealing steps. Our continuous bright annealing furnaces are integral to this industry, restoring the wire's workability between drawing stages and ensuring a flawless, uniform final product with excellent electrical properties and a perfectly smooth surface for enameling.
When to Specify Work-Hardened Copper
Work-hardened copper is specified for applications where mechanical performance—strength, hardness, and rigidity—is the top priority. When a copper component needs to act as a structural element, a spring, or a wear surface, its annealed state is simply too soft to be functional. The increased strength imparted by strain hardening is essential for the part's integrity and service life.
A classic example is in the world of electronics, specifically with electrical connectors, terminals, and switch components8. I worked closely with a major supplier to the automotive industry. They produce female electrical terminals that must maintain a consistent contact force on the male pin for decades, despite vibration and temperature changes. This "springiness" is achieved by using work-hardened copper alloys. If they used soft, annealed copper, the terminal would permanently deform after the first insertion, leading to a loose connection and eventual electrical failure. The hardness of the material is fundamental to its function.
Similarly, copper fasteners like rivets and screws rely on work-hardening to achieve their required shear strength. In construction and industrial assembly, work-hardened copper tubing is often preferred for water and gas lines that require greater rigidity and resistance to physical damage, as opposed to the softer annealed tubing used for tight-bend installations. In these scenarios, formability is sacrificed in favor of durability and strength, ensuring the component can withstand the mechanical stresses of its intended environment.
Hybrid Approaches: Getting the Best of Both Worlds
In many of the most sophisticated applications, the choice is not a simple "either/or" between annealing and work-hardening. Instead, manufacturers employ a strategic combination of both processes to create a component with optimized properties that vary across its geometry. This allows for parts that are both easy to manufacture and robust in their final application.
A perfect illustration is the production of modern ammunition casings. The main body of the casing needs to be strong and hard[^9] to withstand the immense pressure of firing, so it is left in a work-hardened state. However, the mouth of the casing, which must be crimped onto the bullet, needs to be soft and ductile to prevent it from cracking. Manufacturers solve this by using induction heating to selectively anneal only the neck and shoulder of the casing, leaving the rest of it hard. This localized heat treatment is a brilliant example of a hybrid approach.
We have helped clients implement similar strategies in other industries. A manufacturer of high-pressure hydraulic lines used work-hardened copper tubing for its strength, but they needed to be able to create flare fittings on the ends. We helped them integrate a process where the ends of the tubes were locally annealed before the flaring operation. This prevented fracturing and ensured a perfect seal, while the rest of the tube retained its high strength and pressure rating. This intelligent, selective application of annealing and hardening is often what separates a good product from a great one.
Annealed copper is highly formableПравда
Annealed copper's extreme ductility makes it ideal for deep drawing and intricate forming processes without cracking.
Work-hardened copper is weakerЛожь
Work-hardening actually increases copper's strength and hardness, making it suitable for structural applications.
What Recommendations Can Help Choose Between Annealing and Work-Hardening?
Feeling uncertain about which process is right for your next project? The fear of making a costly mistake can be paralyzing, leading to over-engineering or, worse, under-performing parts. This decision impacts not just material costs but your entire production efficiency and final product quality.
To choose, first analyze the part's primary function: does it need formability (anneal) or strength (work-harden)? Then, evaluate the manufacturing sequence to see if a combination is needed. Lastly, conduct prototyping and testing to validate your choice and optimize the process parameters.
This systematic approach removes guesswork. I always advise clients to start with the end in mind. One client, a producer of artistic metal tiles, was struggling with high scrap rates. They were using a half-hard copper, thinking it offered a good compromise. However, their intricate stamping process required more ductility, causing fractures. By switching to fully annealed sheets and advising them to apply a clear protective coating for hardness after forming, we solved the problem. The recommendation was simple: prioritize the manufacturing need first (ductility) and address the end-use requirement (durability) as a separate step. This clarity of purpose is essential for making the right call.
Recommendation 1: Analyze the End-Use Functional Requirements
The first and most important step is to conduct a thorough analysis of the part's function in its final application. You must move beyond thinking about the material in isolation and focus on what the component is actually supposed to do. Ask critical questions: Does the part need to bend, stretch, or conform to a shape? Or does it need to resist force, support a load, maintain its shape under pressure, or withstand friction and wear? The answers to these questions will point you clearly toward either annealing or work-hardening as the dominant requirement.
For example, if you are designing a flexible connector for a piece of electronic equipment that needs to absorb vibration, ductility and flexibility are paramount. The clear choice is annealed copper. Conversely, if you are designing a spring-loaded contact pin that must exert a consistent force over millions of cycles, hardness and yield strength are the critical properties. This immediately tells you that a work-hardened temper is non-negotiable.
I once consulted with a team developing a new type of heat exchanger. They were initially focused on using a hard temper copper tube for maximum durability. However, the design involved a series of tight hairpin bends. During prototyping, the hard tubes repeatedly fractured at the bending points. By stepping back and analyzing the functional requirements, we determined that the pressure rating was well within the limits of even soft copper, but the manufacturing formability was the real challenge. The recommendation was to switch to fully annealed tubing, which solved the production issue without compromising the safety or performance of the final product.
Recommendation 2: Map the Entire Manufacturing Process Flow
A component rarely exists in a single state from start to finish. The choice between annealing and work-hardening is often not a single decision but a series of them, mapped across the entire production sequence. It is crucial to lay out every step of the manufacturing process, from raw material to finished part, to identify where hardness is a hindrance and where it is a help. This process mapping often reveals the need for intermediate annealing or final hardening steps.
Consider the production of a simple copper pot. You start with a flat, annealed disc for deep drawing (ductility needed). After the pot is formed, the material is now in a work-hardened state. For the handle attachment, you might need to rivet it, which requires the pot's wall to be strong enough to support the rivet (hardness needed). However, if you want to create a decorative, fluted rim, you might need to locally anneal the edge of the pot to make it soft again before the fluting operation (ductility needed again).
We implemented this kind of thinking with a client making complex automotive fluid lines. They start with a work-hardened tube for overall strength. They then use localized induction annealing on specific points where tight bends are required. After bending, some connection points are flared or crimped while still in their soft state. This strategic application of heat treatment at precise moments in the production line allows them to create a complex component that has both strength and formability exactly where they are needed, optimizing for both performance and manufacturability.
Recommendation 3: Prototype, Test, and Iterate
Theoretical analysis can only take you so far. The final step to ensure you've made the correct choice is to engage in rigorous prototyping and testing. Create sample parts using the materials and processes you've selected and subject them to tests that simulate both the manufacturing stresses and the real-world end-use conditions. This empirical data is invaluable for validating your decisions and fine-tuning your process parameters.
If you believe a work-hardened component is necessary, produce prototypes and subject them to load testing, fatigue testing, and wear testing. Do they meet or exceed the required specifications? At the same time, run these prototypes through your manufacturing line. Can they be produced consistently without unacceptable scrap rates? If you are opting for an annealed material for formability, test its limits. How tight a bend can you make before you see signs of stress or the "orange peel" effect? Does the final, formed part have sufficient strength for its application?
I always encourage our clients to leverage our technical expertise during this phase. A client was developing a new bright-finished product and was deciding on the final annealing parameters. We ran several test batches for them in our lab furnaces, each with a slightly different time and temperature profile. We then helped them analyze the resulting grain structure and surface finish of each batch. Through this iterative process of testing and analysis, they were able to identify the exact annealing recipe that gave them the perfect balance of a brilliant surface, fine grain structure, and excellent formability, a result they couldn't have achieved through calculation alone.
Отжиг повышает пластичностьПравда
Annealing softens metal by relieving internal stresses and allowing grain structure to reform, making it more malleable for forming operations.
Work-hardening reduces strengthЛожь
Work-hardening actually increases strength and hardness by introducing dislocations in the metal's crystal structure through mechanical deformation.
Заключение
Ultimately, the choice between copper annealing and work-hardening is a strategic decision dictated by your product's final application and manufacturing path. Mastering the interplay between thermal softening and mechanical strengthening is key to unlocking efficiency, ensuring quality, and producing superior, reliable copper components.
-
Discover research on achieving unique copper properties through controlled annealing ↩
-
Discover the impact of microstructure on annealed copper properties for better manufacturing outcomes ↩
-
Discover the mechanism of work-hardening on copper's physical properties. ↩
-
Understand the role of annealing in maintaining copper ductility during manufacturing. ↩
-
Learn about the process and benefits of annealing in plumbing. ↩
-
Discover the formability benefits of annealed copper. ↩
-
Understand the role of work-hardened copper in electronics. ↩
-
Find out how work-hardening enhances ammo casing strength. ↩
Have Questions or Need More Information?
Get in touch with us for personalized assistance and expert advice.
